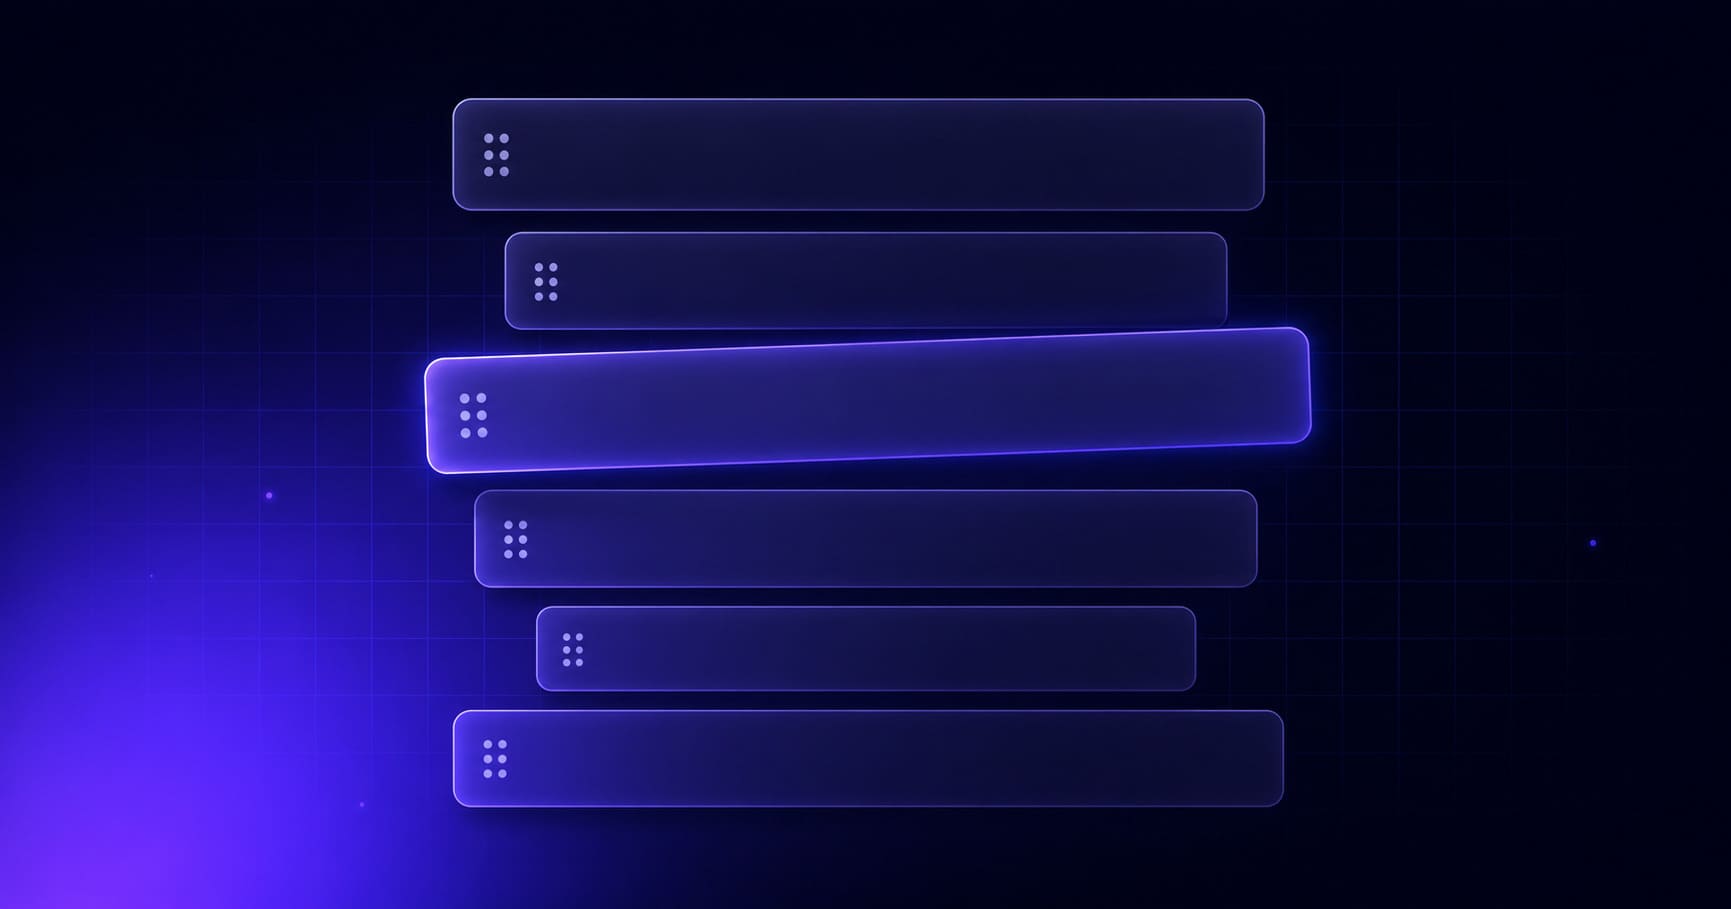
Your MakeOurs site was generated in under a minute. It has a hero banner, an about section, a services list, and a contact form. Not bad for 60 seconds. But you realize you need a testimonials section that the AI did not include, the FAQ block it added is unnecessary for your business, and the contact form would make more sense higher up the page.
This is what sections are for — and managing them is one of the most important things you can do in MakeOurs. Your site is not a fixed template. Every section can be added, removed, or repositioned. The structure is entirely in your hands, through the left sidebar of the editor.
This guide explains exactly how to add sections on MakeOurs, how to remove the ones you do not need, and how to rearrange them so your page flows the way you want.
1. What Are Sections and Why They Matter
A section is a full-width block that makes up one part of your page. Your hero banner is a section. Your services list is a section. Your contact form is a section. Stack several sections on top of each other and you have a complete web page.
Every section serves a specific purpose — introducing your business, listing what you offer, showing social proof, capturing enquiries. When sections are in the right order and the right ones are present, visitors move naturally through your site from "what is this?" to "how do I contact them?"
Getting the sections right matters more than most people realize. A site with the right sections in the right order converts visitors into enquiries. A site with the wrong sections, or the right sections in the wrong order, loses people halfway through.
2. How Sections Are Managed in MakeOurs
In the MakeOurs builder, sections are managed from the left sidebar under the Content tab. When you open the builder, you see a list of your current sections on the left side. The live preview of your site is shown on the right — but you do not click on the preview to manage sections.
Your section list always starts with the Header (the navigation bar) at the top and ends with the Footer at the bottom. These two cannot be removed — they are permanent. Everything between them is your editable page content, and you can add, remove, and reorder those sections freely.
Each section item in the list shows:
- A grip handle (⠿) on the left — for drag-and-drop reordering
- The section name in the middle
- A trash icon (🗑) on the right — always visible, click to delete
Clicking a section item opens its editor panel on the right side of the sidebar, where you can edit its content.
On mobile, the sidebar is hidden by default. Tap the hamburger menu (☰) at the top-left to open it as a full-screen drawer. All section management works identically — it just opens as a full-screen overlay.
3. How to Add a New Section on MakeOurs
- Open your site in the MakeOurs builder.
- In the left sidebar, look at the top of the sections list. There is a small + (plus) icon button in the header of the sections panel — on the right side of the "Sections" label.
- Click the + button. A modal dialog opens titled "Add Section."
- The dialog displays a grid of section type cards, each showing an icon, section name, and a short description.
- Click the card for the section type you want to add.
- The new section is added to your page immediately, below your existing sections (just above the footer). You can drag it to any position after adding.
The section appears with placeholder content — click on it in the sidebar list to open its editor and fill in your real content.
Section types you can add:
| Section type | What it does |
|---|---|
| Hero | Main banner with headline and CTA button |
| Features | Grid of features or key benefits |
| About | Text and image layout for your story |
| Rich Content | Structured text and images |
| Portfolio | Grid of projects or past work |
| Testimonials | Customer reviews |
| Pricing | Pricing plans or packages |
| FAQ | Question and answer list |
| Call to Action | Standalone CTA block |
| Contact | Contact form |
| Team Members | Team profiles with photos |
| Custom HTML | Your own custom code block |
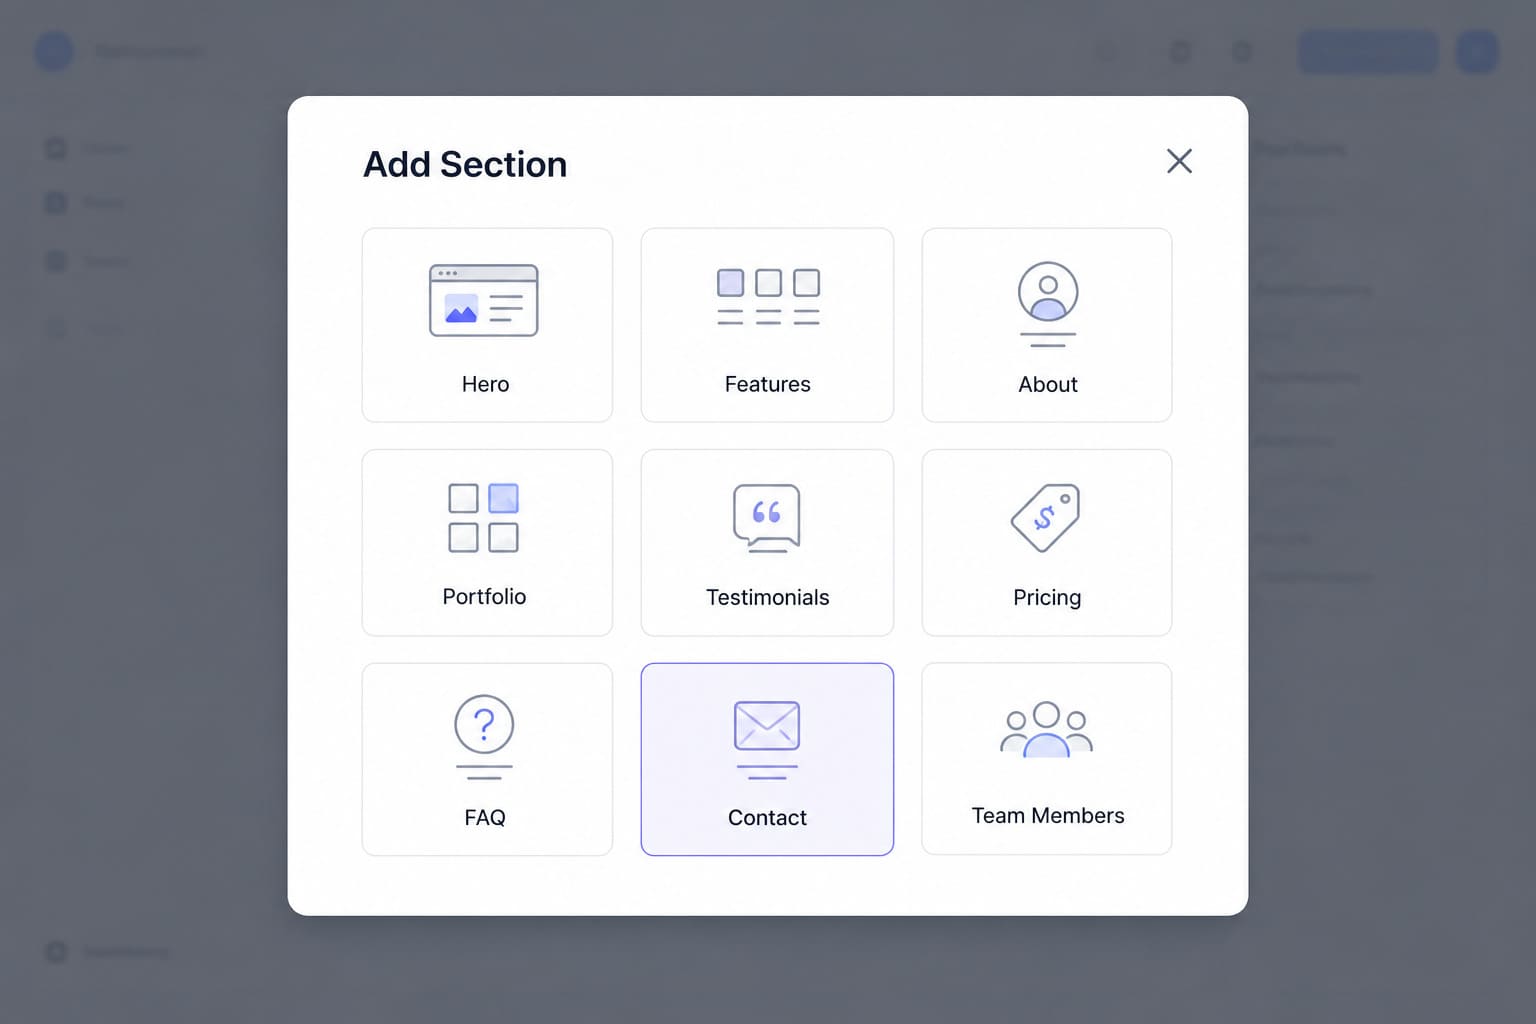 Click the + button in the sidebar to open the Add Section dialog. Each card shows the section name and a short description. Click any card to add it to your site.
4. How to Remove a Section
- In the sidebar section list, find the section you want to remove. Each body section has a trash icon (🗑) permanently visible on the right side of its row.
- Click the trash icon. A confirmation dialog appears: "Remove Section? — Are you sure you want to remove the [section type] section? This action cannot be undone."
- Click the red "Remove Section" button to confirm. Click Cancel to go back without removing.
The section is removed immediately from both the sidebar list and the preview.
A few things to keep in mind before removing:
- Removal cannot be undone from a button — you would need to add the section type back and re-enter its content manually.
- The Header and Footer sections cannot be removed — the trash icon does not appear on them.
- If a section has placeholder content and looks unhelpful, consider editing it before removing — a testimonials section with real reviews is far more valuable than one with placeholder text that you delete before filling.
5. How to Rearrange Sections
Each section in the sidebar list has a grip handle icon (⠿) on the left side of its row.
To move a section:
- Click and hold the grip handle on the section you want to move.
- Drag it up or down in the list.
- As you drag past other sections, they shift to show where the moved section will land.
- Release to drop the section into its new position.
- The preview updates immediately.
On touch screens (including phones with the sidebar drawer open): Touch and hold the grip handle for about 250 milliseconds, then drag. The delay prevents accidental moves when you are scrolling the list.
There are no up/down arrow buttons — drag is the only way to reorder sections.
6. The Best Order for Sections on Most Landing Pages
The order your sections appear in has a direct effect on how visitors behave. Here is a sequence that works well for most small business and service landing pages:
1. Hero — who you are and what you do, in one strong headline. A clear CTA button.
2. Services or Features — what you specifically offer. Answer the first question visitors have after reading the hero.
3. About / Story — who is behind the business. People buy from people they trust.
4. Testimonials — what others say about you. Social proof after the initial pitch.
5. Pricing — if you have fixed packages or pricing, show it. Hiding pricing makes visitors leave.
6. FAQ — address common questions before they become reasons to not contact you.
7. Contact — the final step. By the time a visitor reaches this, they are informed and ready to act.
This is not a rigid rule. A portfolio site puts the gallery second. A restaurant puts the menu second. Use your judgement based on what your visitors most need to see first.
7. Which Section Types to Use for Which Goals
| Section type | Best used for |
|---|---|
| Hero | First impression, headline, CTA |
| About | Building trust, sharing your story |
| Features | Explaining what you offer in a scannable grid |
| Portfolio | Showing work — photographers, designers, architects |
| Pricing | Fixed-price services, coaching packages |
| Testimonials | Social proof, credibility |
| FAQ | Reducing enquiry load, addressing objections |
| Team Members | Humanising the business, showing expertise |
| Contact | Capturing leads and enquiries |
| Call to Action | A standalone call-to-action mid-page |
| Rich Content | Long-form text, announcements, detailed descriptions |
| Custom HTML | Embedding maps, videos, or any external widget |
8. Frequently Asked Questions
Q1: How do I add a section on MakeOurs?
In the builder sidebar under the Content tab, click the + button in the sections panel header. A dialog opens showing all available section types as cards. Click the card for the section type you want — it is added to your site immediately.
Q2: How many sections can I add on MakeOurs?
There is no fixed limit. Most effective sites have 5–9 sections between the header and footer. More than 10 sections can make a page feel overwhelming. Add sections that serve your visitors — not sections for the sake of volume.
Q3: Can I add the same section type more than once?
Yes. You can add two Portfolio sections, two Call to Action blocks, or multiple Testimonials sections. This is useful if, for example, you want a testimonials block both mid-page and near the contact form.
Q4: Will reordering sections break my site?
No. Each section is independently styled and self-contained. Dragging a section to a new position only changes its order on the page — it has no effect on the section's content or the sections around it.
Q5: Why can I not find the section controls on the preview canvas?
Section controls — add, remove, reorder — are only in the left sidebar, not on the preview canvas. The preview shows your site as visitors would see it. Manage sections by clicking the + button, trash icon, or grip handles in the sidebar section list.
9. Conclusion: Your Page Structure Is in Your Hands
The AI generates a reasonable first structure based on your prompt. But your page is not locked into that structure. Add sections on MakeOurs for the things your visitors need to see. Remove sections that do not serve your audience. Drag them into the right order.
Everything happens in the left sidebar. The + button adds, the trash icon removes, and the grip handle lets you drag. It takes about two minutes to reshape the entire structure of your site once you know where each control lives.
Build a site that guides visitors exactly where you need them to go. Start Editing Your MakeOurs Site
External References & Further Reading:
- Nielsen Norman Group: Page layout and visual hierarchy in web design
- Web.dev: Largest Contentful Paint and layout optimization
- Google Search Central: How Googlebot crawls page structure
Want more help getting the most out of your MakeOurs site? Visit our Blog section.