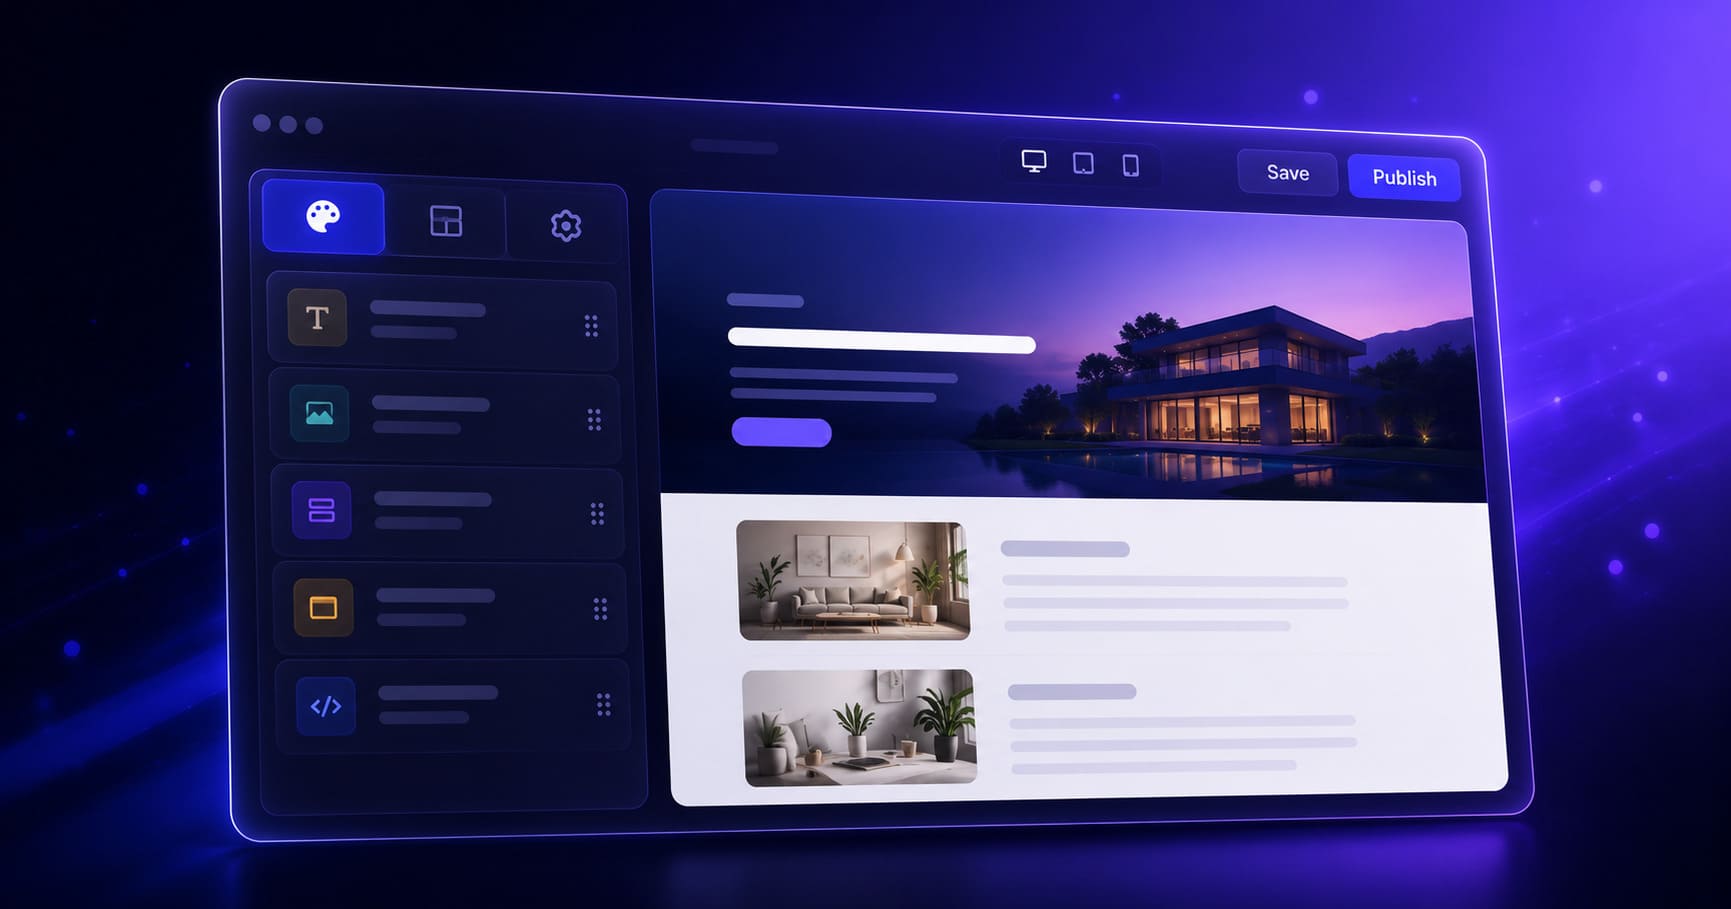
You have just generated your site. The AI did a solid job — the structure makes sense, the sections are mostly right, and the overall look is close to what you had in mind. But the headline says something generic, one image does not represent your business, and the services list is in the wrong order.
This is completely normal. The MakeOurs visual builder exists precisely for this moment. It is where you go from "AI-generated starting point" to "this actually represents my business." The editor is built around a sidebar on the left that lists your sections — you manage everything from there, not by clicking directly on the preview canvas.
This guide walks through every part of the MakeOurs visual builder so you know exactly how to make each type of edit.
1. How the Editor Is Laid Out
When you open the builder, the screen has two main areas:
Left sidebar (320px wide on desktop): This is where all editing happens. It has three tabs at the top — Content (your sections list), Design (colors and fonts), and Settings (site metadata). The sidebar is your control panel.
Right preview pane: A live iframe showing your site. It updates in real time as you make changes in the sidebar. The preview is for reference — you do not click on it to edit things.
Top header bar: Contains the Save Draft button, the Publish button, a Preview toggle, and device view toggles (Desktop / Tablet / Mobile).
On mobile devices, the sidebar is hidden by default. Tap the hamburger menu icon (☰) at the top-left to open it as a full-screen drawer. All editing works the same way — it just opens as an overlay instead of sitting persistently on the left.
2. How to Edit Text in the MakeOurs Visual Builder
Text editing does not happen by clicking on words in the preview. Here is the actual flow:
- In the left sidebar, under the Content tab, you will see your list of sections — Hero, About, Services, Contact, etc.
- Click the section whose text you want to change. The section is highlighted in blue.
- A section editor panel slides in from the right side of the sidebar, showing text input fields for that section's content.
- Edit the text directly in those input fields — headline, subheadline, body copy, button labels, and so on.
- The preview pane updates live as you type (with a short delay).
- There is no separate Save button for individual fields — changes apply automatically as you type.
What each text field controls:
- Headline — the main H1 or H2 heading for that section
- Subheadline / Description — the supporting paragraph below the heading
- Eyebrow — a small label that appears above the heading (if present)
- Button label — the text on any CTA button in that section
- Individual items — for sections like Features or FAQ, each item has its own title and description fields
Click the back arrow (←) at the top of the section editor panel to return to the full sections list.
3. Editing Section-Specific Details (Links, Items, Lists)
For sections that contain repeating items — like a features grid, a testimonials block, or a FAQ list — the panel shows each item as a collapsible card. Click a card to expand it and edit the item's fields. Some sections also have an "Add Item" button to add more entries to the list.
Button links are edited in the same panel. Click on the section to open its editor, find the button field, and set both the label text and the URL it should point to.
4. Changing Colors and Fonts
Colors and typography are controlled from the Design tab in the left sidebar. Switch to the Design tab to access all global style settings.
Colors available: Primary, Secondary, Accent, Background, Surface, Alternate, Text, Muted, and Border — plus status colors (Success, Error, Warning, Info). Each color shows a swatch. Click the swatch to open the system color picker, or type a hex code directly (e.g. #FF5733). A reset button next to each color restores it to default.
Changes apply site-wide — updating Primary Color changes every button, link, and accent across all sections at once.
Fonts available: Inter, Poppins, Lora, Playfair Display, and Roboto. Choose one from the Font Family dropdown. There is no custom font upload option — these five are the available options.
Typography options also include:
- Base font size: 14px, 16px, or 18px
- Heading weight: Normal, Medium, Semibold, Bold, or Extra Bold
- Body weight: Light, Normal, or Medium
Border radius and spacing are also adjustable in the Design tab — controlling how rounded your buttons and cards appear and how much padding sections have.
Per-section style overrides (background color, text color, background pattern, gradient) are available in each section's editor panel.
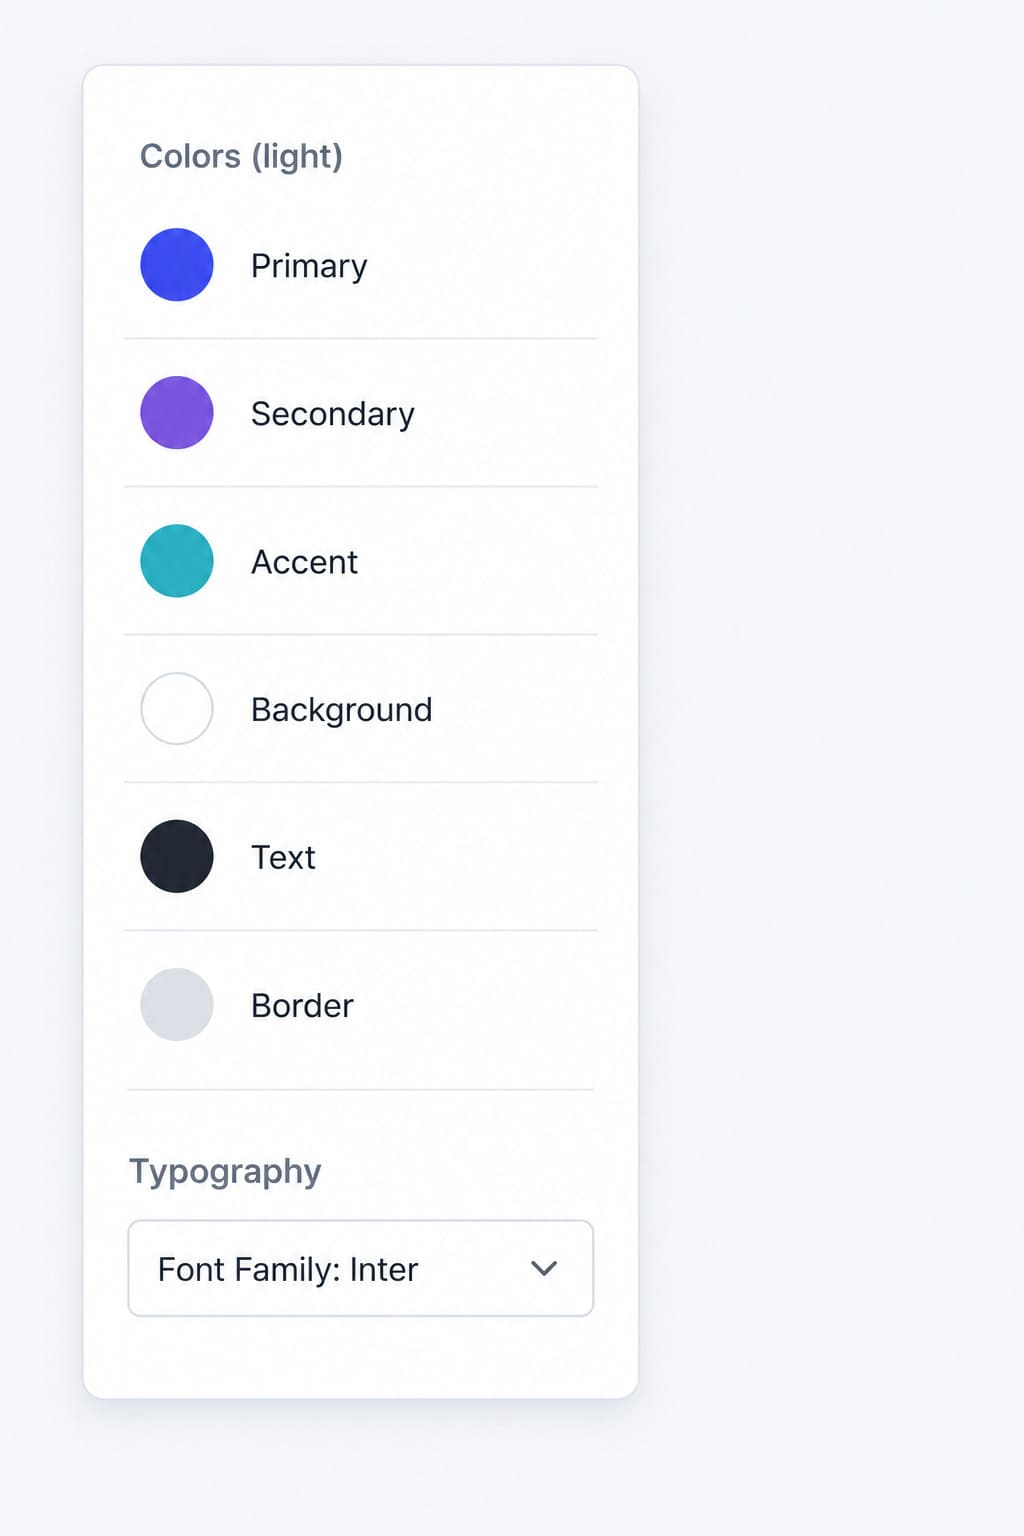 The Design tab in the sidebar controls colors and fonts site-wide. Changing Primary Color updates every button and accent across the site in one action.
5. Replacing Images
Images are not replaced by clicking on them in the preview canvas. Here is the actual process:
- Click the section containing the image you want to replace (in the sidebar section list).
- The section editor panel slides in — scroll to find the image field for that section.
- The image field shows the current image preview and two options below it:
- Media Library button — opens a modal where you can upload a new image from your device or choose one you have already uploaded
- URL input field — paste any direct image URL to use an external image
- There is also an Alt text field below the image — fill this in for accessibility and SEO.
- To remove an image, click the X button in the top-right corner of the image preview in the panel.
The preview updates immediately when you select or paste a new image.
Image tips:
- Upload JPEG, PNG, or WebP files
- Keep uploads under 2MB for fast loading
- Landscape images (wider than tall) work best for hero and banner sections
- Portrait or square images work well for team photos and testimonials
6. Working with Sections — Add, Remove, Reorder
All section management happens through the sidebar section list, not on the preview canvas.
Adding a section:
- In the sidebar Content tab, look at the top of the sections list. There is a + (plus) icon button in the header of the sections panel.
- Click +. A modal dialog opens titled "Add Section."
- The dialog shows a grid of section type cards — each with an icon, name, and one-line description.
- Click any card to add that section type to your site.
- The new section is added to the bottom of your section list (above the footer). You can drag it to any position after adding.
Available section types: Hero, Features, About, Rich Content, Portfolio, Testimonials, Pricing, FAQ, Call to Action, Contact, Team Members, and Custom HTML.
Deleting a section:
- In the sidebar section list, find the section you want to remove. Each body section has a trash icon (🗑) always visible on the right side of its row — no hover needed.
- Click the trash icon. A confirmation dialog appears: "Remove Section? — Are you sure you want to remove the [type] section? This action cannot be undone."
- Click the red "Remove Section" button to confirm. Click Cancel to go back.
The Header and Footer sections cannot be deleted — they are permanent parts of every site.
Reordering sections:
- Each section in the sidebar list has a grip handle icon (⠿) on the left side.
- Click and drag the grip handle to move the section to a new position in the list.
- The preview updates immediately to reflect the new order.
- On touch screens (including phones when using the sidebar drawer), touch and hold for 250ms then drag.
There are no separate up/down arrow buttons — drag is the only way to reorder.
7. Saving Your Changes and Publishing
The MakeOurs builder has two separate actions:
Save Draft (button in the top header bar): Saves your current edits to the cloud without making them live. Only enabled when you have unsaved changes. A pulsing indicator in the header shows "Unsaved local changes" when you have pending edits. The editor also auto-saves to your browser's local storage every second while you have unsaved changes, so your work is not lost if the browser closes unexpectedly.
Publish (button in the top header bar, rightmost): Saves your draft first, then pushes everything live to your site's URL. This is the button visitors' experience. After publishing, the live site reflects your latest changes.
Use Save Draft when you want to keep working later without going live. Use Publish when you are ready for visitors to see the new version.
8. Preview Modes
Full-screen preview: Click the Preview button (eye icon) in the top header. The sidebar disappears, the canvas fills the full screen, and you see exactly what a visitor sees. A close button (X) returns you to editing mode.
Device width simulation: In the top header, there are three icons — Desktop, Tablet (768px), and Mobile (375px). Click these to resize the preview canvas and see how your site looks at different screen widths. These controls are only visible on desktop — they are hidden when you are using the builder on a phone or tablet, since the device is already showing at its natural size.
9. Common Edits — Where to Go for Each
| What you want to change | How to do it |
|---|---|
| Headline or body text | Sidebar → click section → edit in the text fields in the panel |
| Button label | Sidebar → click section → find button field in panel → edit label |
| Button link/URL | Sidebar → click section → find button field in panel → edit URL |
| Section image | Sidebar → click section → find image field in panel → Media Library or paste URL |
| Logo | Sidebar → click Header section → Logo Image field in panel |
| Site-wide colors | Sidebar → Design tab → color swatches |
| Font family | Sidebar → Design tab → Font Family dropdown (Inter, Poppins, Lora, Playfair Display, Roboto) |
| Add a new section | Sidebar → Content tab → click + button in sections panel header → choose type in dialog |
| Remove a section | Sidebar → click trash icon (always visible, right side of section row) → confirm |
| Reorder sections | Sidebar → drag the grip handle (⠿) on the left of any section item |
| Per-section background | Sidebar → click section → Background field in panel |
| Navigation links | Sidebar → click Header section → edit nav items in panel |
10. Frequently Asked Questions
Q1: Do I click directly on the preview to edit my site?
No. The preview pane is for reference only — it updates as you make changes but is not clickable for editing. All editing happens through the left sidebar: click a section in the list, then edit its fields in the panel that slides in.
Q2: How do I know if my changes have saved?
The top header shows a status indicator. "Unsaved local changes" with a pulsing dot means you have edits not yet saved to the cloud. "All changes synced to cloud" means your draft is saved. The editor also auto-saves to your browser locally every second, so closing the tab does not lose work.
Q3: Can I undo a change?
The builder tracks your editing history internally. There are no visible undo/redo buttons in the interface — if you make a change you want to reverse, edit the field back to what it was, or remove and re-add a section if needed.
Q4: How do I edit the site on my phone?
On mobile, tap the hamburger menu icon (☰) at the top-left to open the sidebar as a full-screen drawer. Everything works the same way — click a section, edit in the panel, drag to reorder. Close the drawer with the X button to see the preview.
Q5: How do I change my site's logo?
In the sidebar, click the Header section in your sections list. In the section editor panel that opens, find the Logo Image field. Click Media Library to upload your logo file, or paste the image URL directly.
11. Conclusion: The Sidebar Is Your Control Panel
The MakeOurs visual builder is built around the left sidebar — not the preview canvas. Open the section list, click what you want to change, edit the fields in the panel. Images, text, buttons, colors, fonts, section order — all of it flows through the sidebar.
Once you understand that the preview is for reference and the sidebar is for editing, the builder clicks into place fast. Most first-time edits take under 30 minutes. The preview updates live, so you see every change reflected immediately as you work.
Your site is one editing session away from being exactly what you need. Open MakeOurs and Start Editing
External References & Further Reading:
- Web.dev: Core Web Vitals and performance best practices
- MDN Web Docs: Responsive design basics
- Nielsen Norman Group: Usability of sidebar navigation and panel-based editors
Want more tips on customizing your MakeOurs site? Visit our Blog section.